Staking hardware
Staking can be performed continuously on any type of computer device, as long as the hardware meets the required specifications. Such device can be called a staking node.
Options for running a staking node
-
1
Node on your PC
Theoretically, a staking node can be launched on a PC or laptop you use for daily work. However, this option is not recommended due to security issues.
-
2
Dedicated PC for staking
The most affordable secure way of running a staking node. You can either use some older PC or buy a new one. There is possible to run UI-based Operating system as well as server-based operating system, See operating systems section.
-
3
Running on a server device
Running a node on dedicated server hardware.
Hardware requirements
-
Minimum Requirements
- Modern multi-core CPU
- At least 32GB RAM
- NVMe SSD of at least 2TB
- Stable internet connection of at least 15 Mbps
-
Recommended Setup
- Latest generation multi-core CPU (e.g. Intel i5)
- 64GB high-speed RAM
- High-end NVMe SSD (e.g. 2TB)
- Wired internet connection 30MBPs+
Staking Node Sample – Installing Ubuntu Server on Asus NUC
Hardware configuration
- ASUS NUC 13 Pro NUC13ANHI5 Tall (Intel Core i5, tall for better cooling)
- 4 TB SSD NVMe (Kingston SSD KC3000 4TB)
- 64 GB RAM (Kingston Fury Impact DDR4 2×32GB 3200MHz)
Staking node placement
Staking node can be placed at any location that meets the following criteria:
- Stable electrical network
- Stable and reliable internet connection of at least 15 Mbps (up/down) without strict data limits
- Reasonable thermal and dusty conditions
- Sufficient physical security
Options for node placement
Technically, any computer can be accessed and controlled locally through a directly connected monitor and keyboard as well as remotely through the SSH. From this point of view, based on your options and preferences you can choose from following:
-
1
Home / Office
The simplest option: connect your staking node to electricity and internet in your own home, office, or any controlled space.
-
2
Server House
Host your node in a server house with internet and power redundancy. You manage your own hardware, placed remotely.
-
3
Cloud
Rent cloud hardware and launch your staking node remotely. Convenient and fast to deploy, but with monthly fees.
The real location of your node can be hidden using VPN services. Electricity costs for staking are usually low when choosing energy-efficient devices.
Operating System
Staking can be operated on numerous Operating Systems supported by staking clients.
Recommended OS for Stakers.space staking guides is Ubuntu, but you can also use other systems such as Microsoft Windows.
Ways to install the OS
Get Ubuntu Server OS
Staking is possible from Ubuntu Desktop as well as Ubuntu Server OS. While Ubuntu Desktop comes with a standard User Interface (UI) and may seem to be easier to manage, the Ubuntu Server is usually the better choice as the UI is usually useless as you work with a terminal. Absence of that UI tools associated with Server distribution may save computional resources.
-
Download
Ubuntu 24.04 LTS Serverfrom https://ubuntu.com/download/server - Create a bootable USB Stick with the Ubuntu Server distribution image
Install Ubuntu Server OS to your node
-
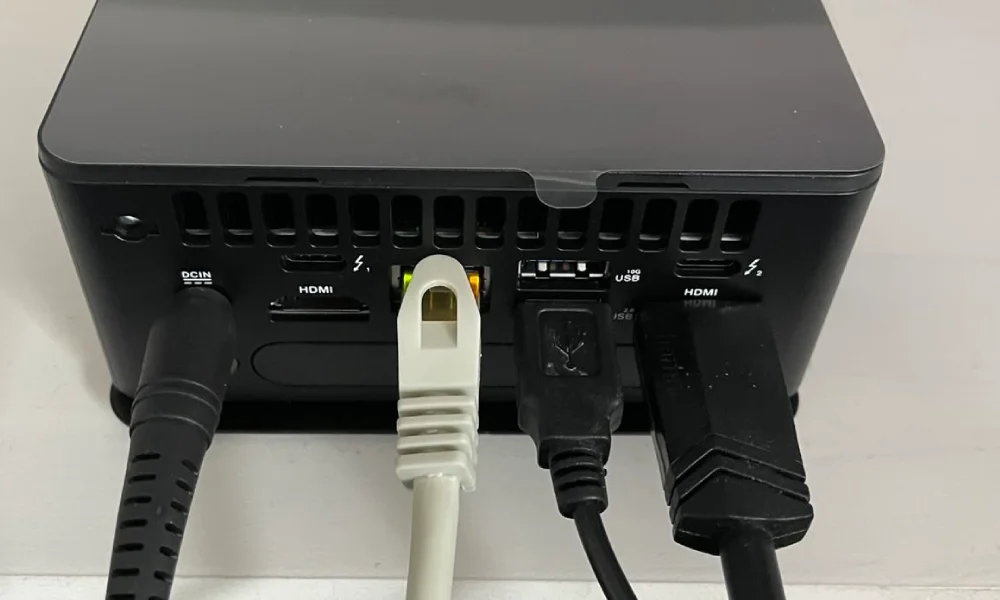
Connect your node to monitor, keyboard, electricity and internet. Stick Ubuntu bootable flash disk to your node.
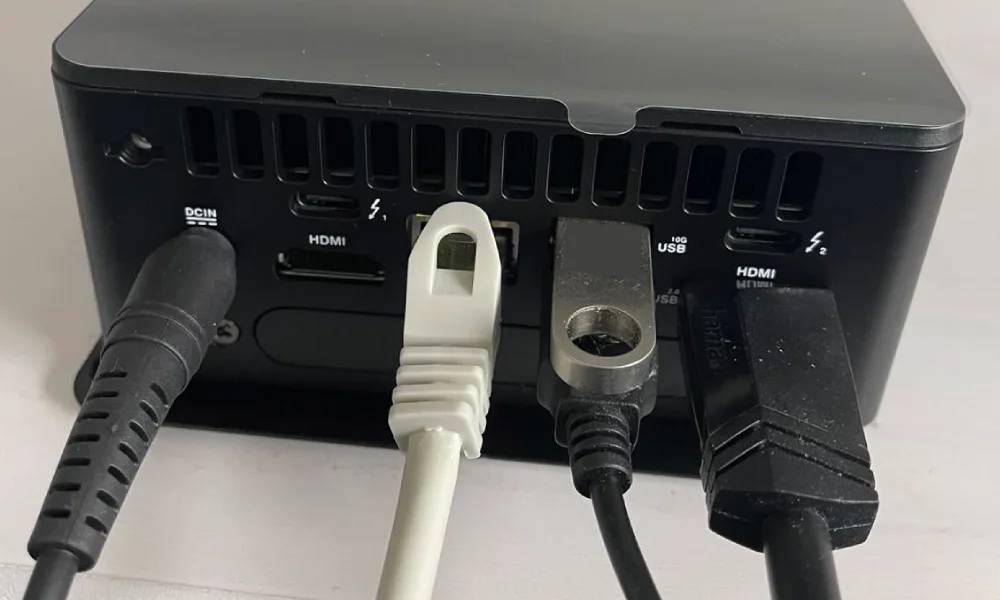
- Turn on the PC while pressing F11 key to load boot selection. If loaded, select your USB stick
- Install The Ubuntu Server
-
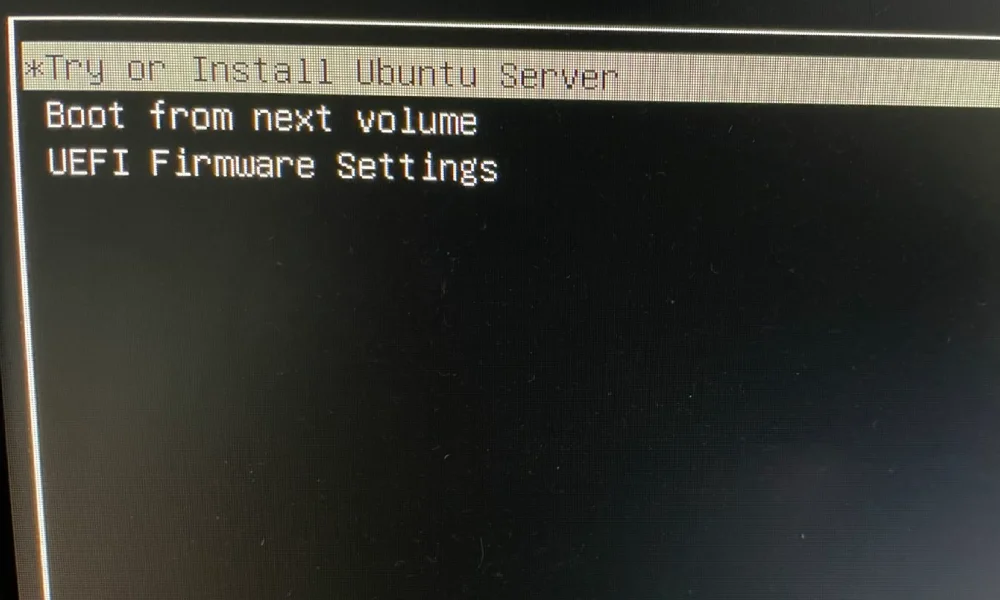
Step 1/17: Select "Try or Install Ubuntu Server"
-
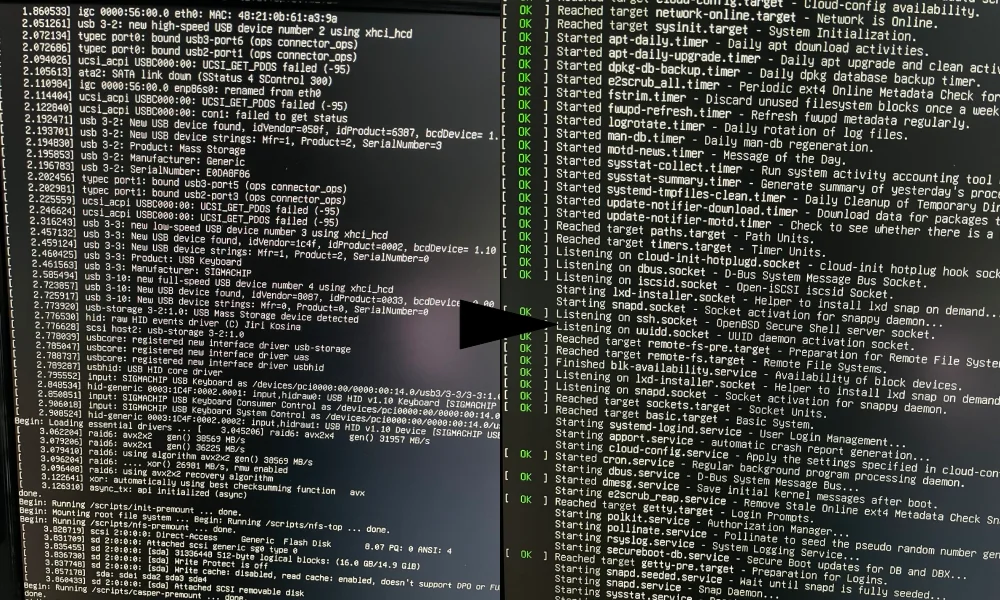
Step 2/17: Wait for OS preparation
-
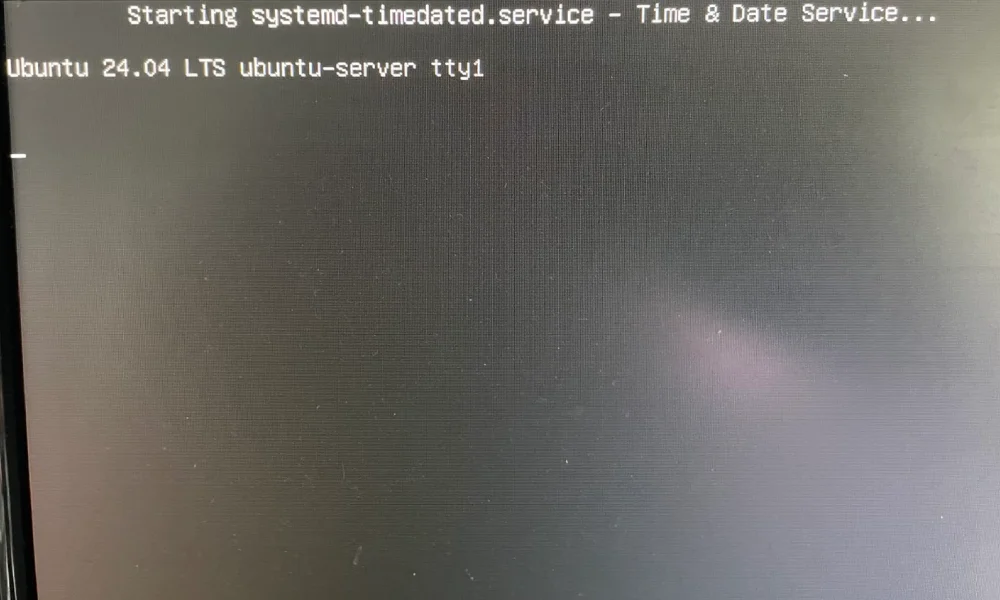
Step 3/17: Wait for timedatectl service
-
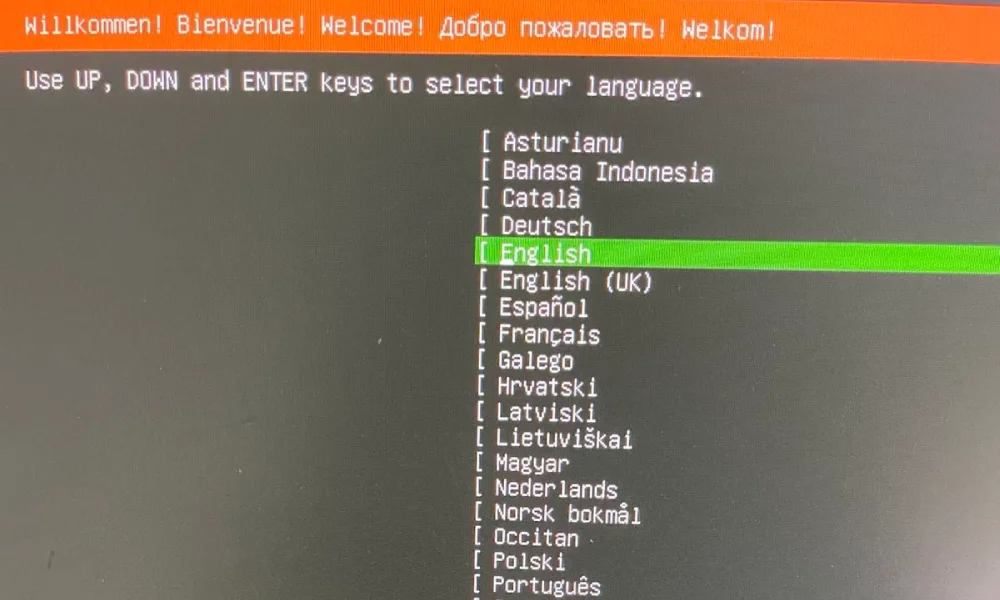
Step 4/17: Select OS language
-
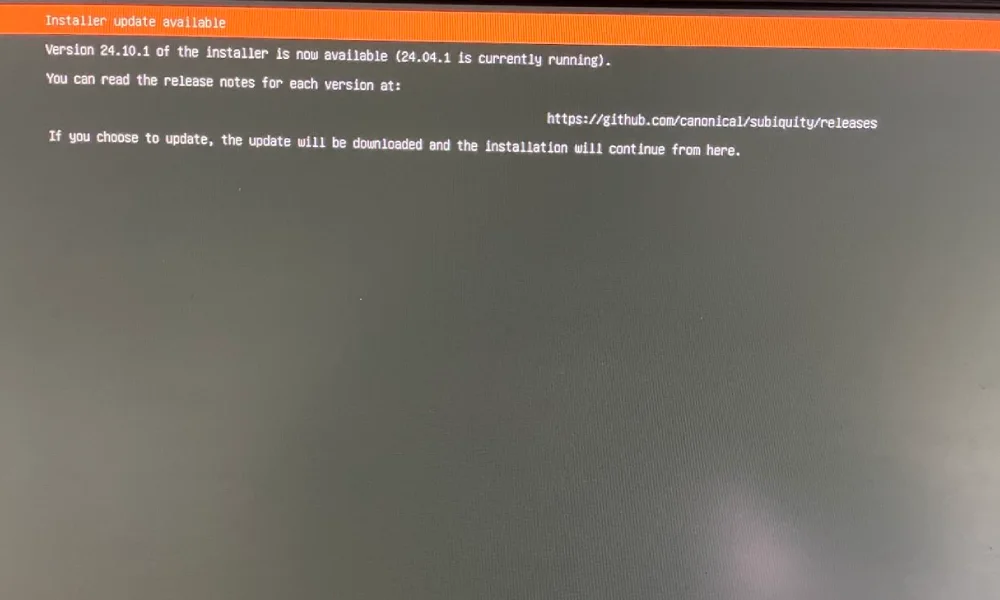
Step 5/17: Select "Update to the new installer"
-
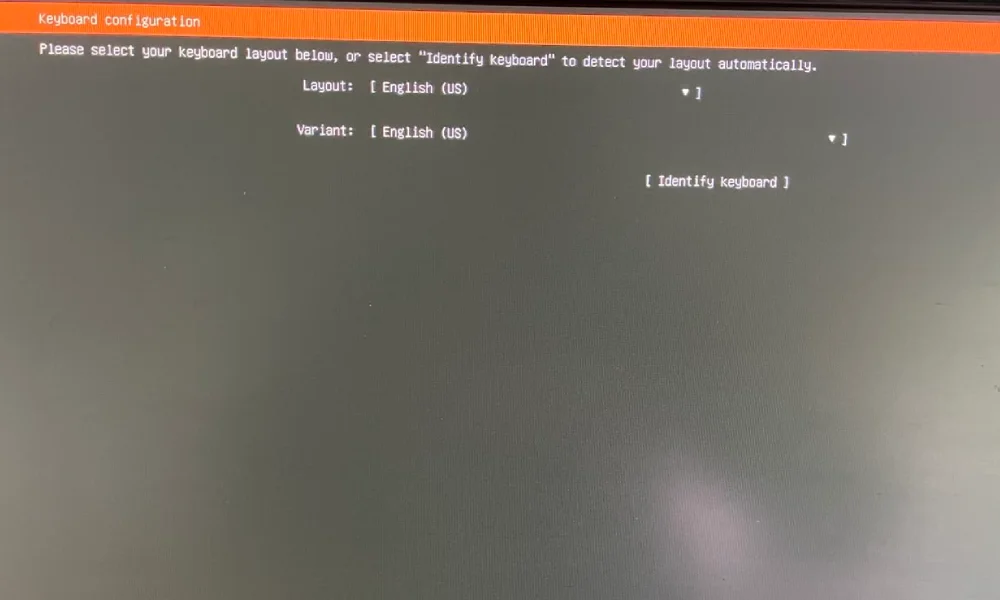
Step 6/17: Confirm keyboard
-
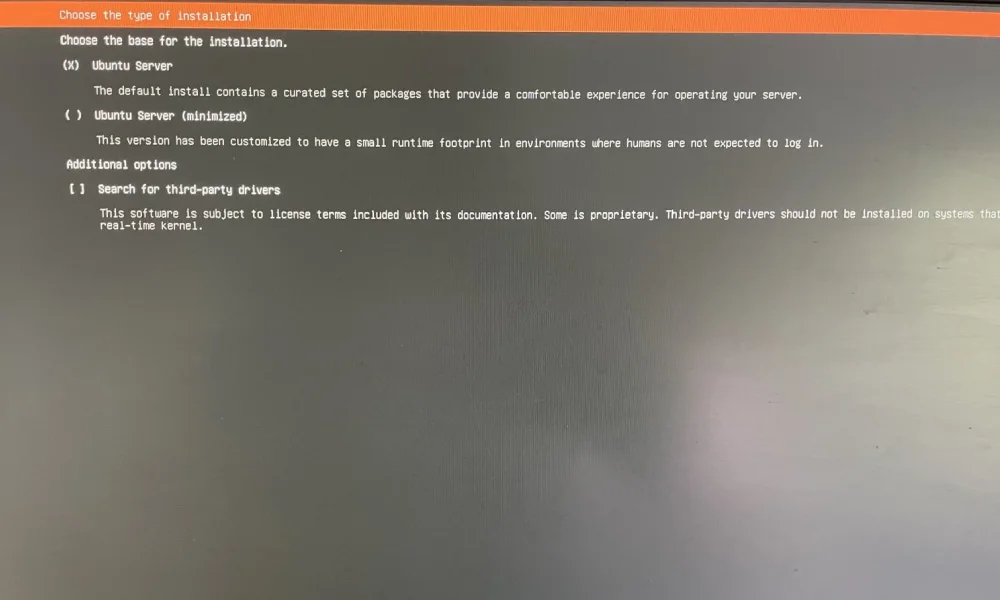
Step 7/17: Select "Ubuntu Server"
-
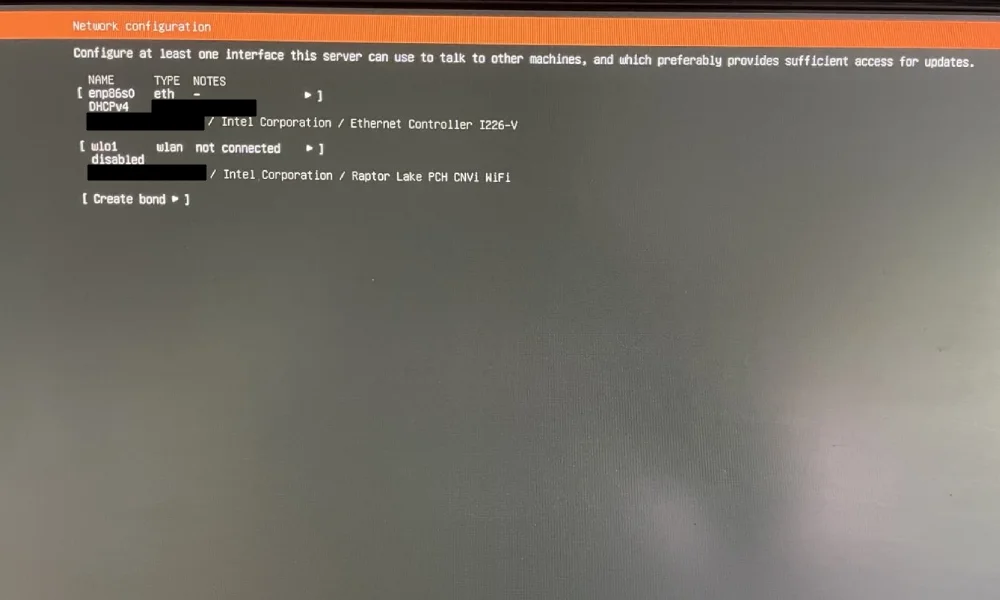
Step 8/17: Confirm network by selecting "Done"
-
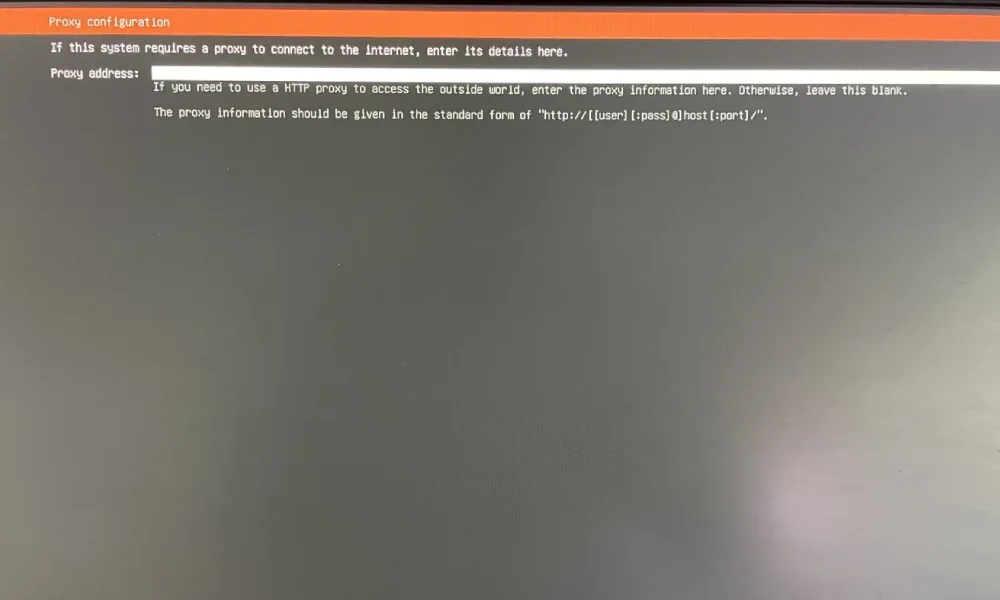
Step 9/17: Skip proxy by pressing "Done"
-
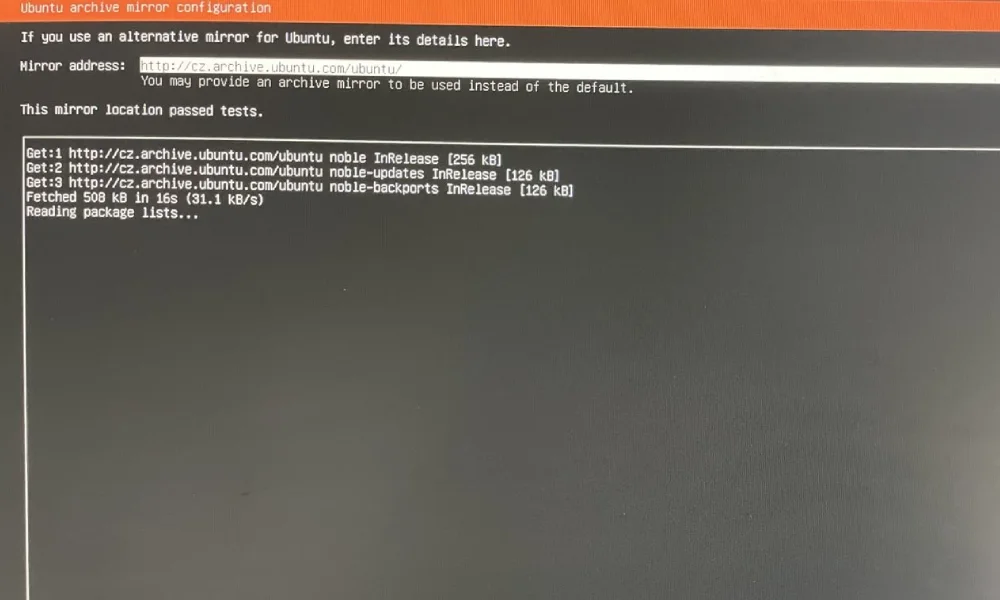
Step 10/17: Wait till mirror is completed, then press "Done"
-
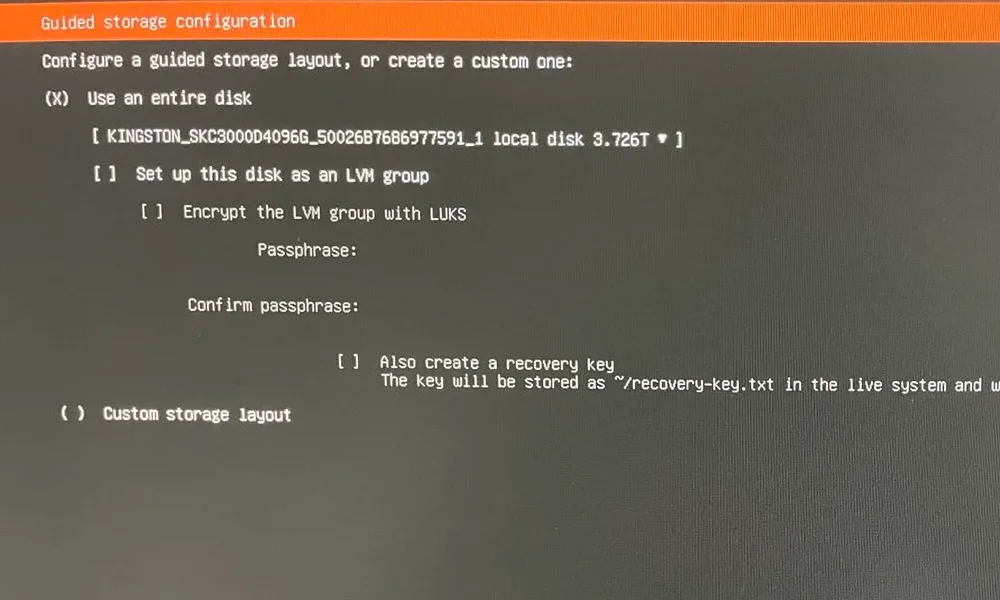
Step 11/17: Check Storage configuration, then press "Done". Confirm the option by pressing "Continue"
-
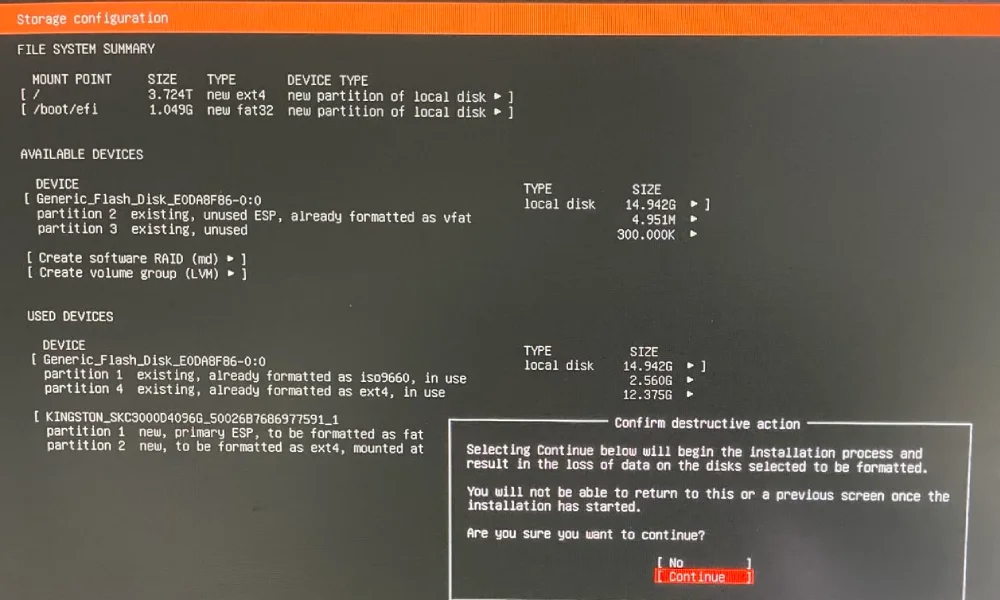
Step 12/17: Uncheck "Set up this disk as an LVM group to avoid disk fragmentation", then press "Done".
-
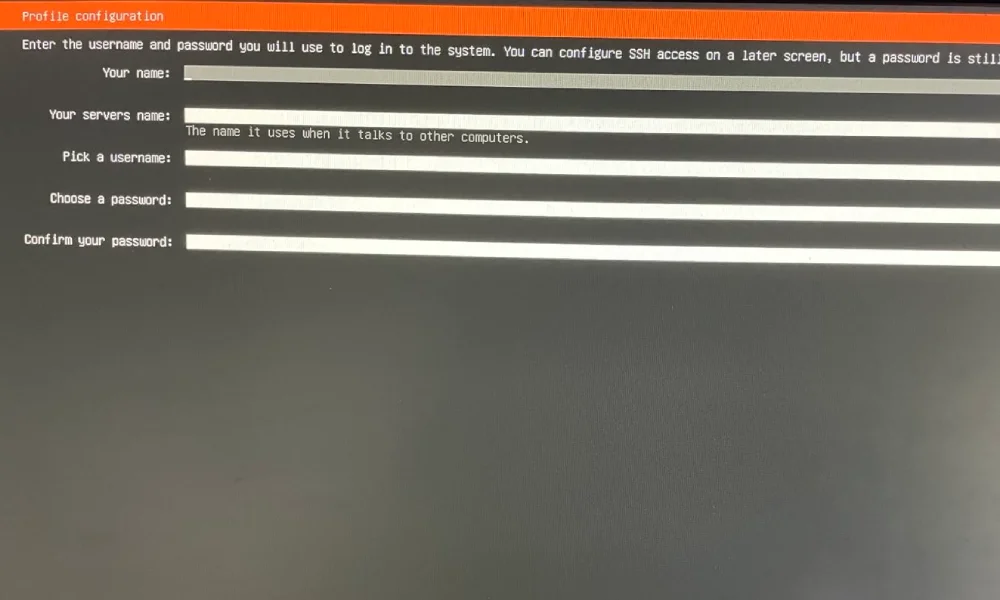
Step 13/17: Fill identifiers. Your name may be same as username. Server name is name under which you will see the device in the network.
-
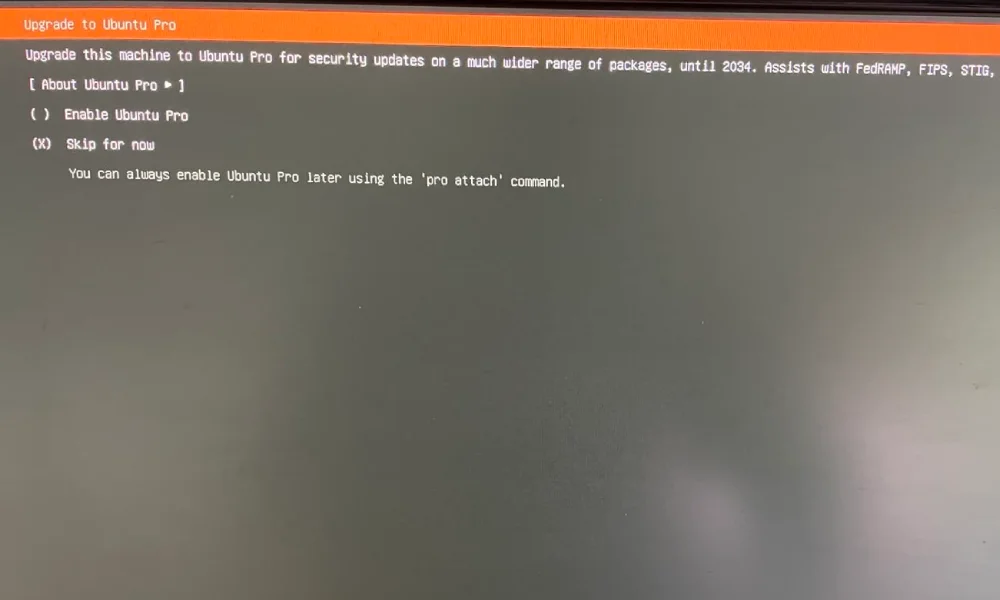
Step 14/17: Skip "Upgrade pro" option
-
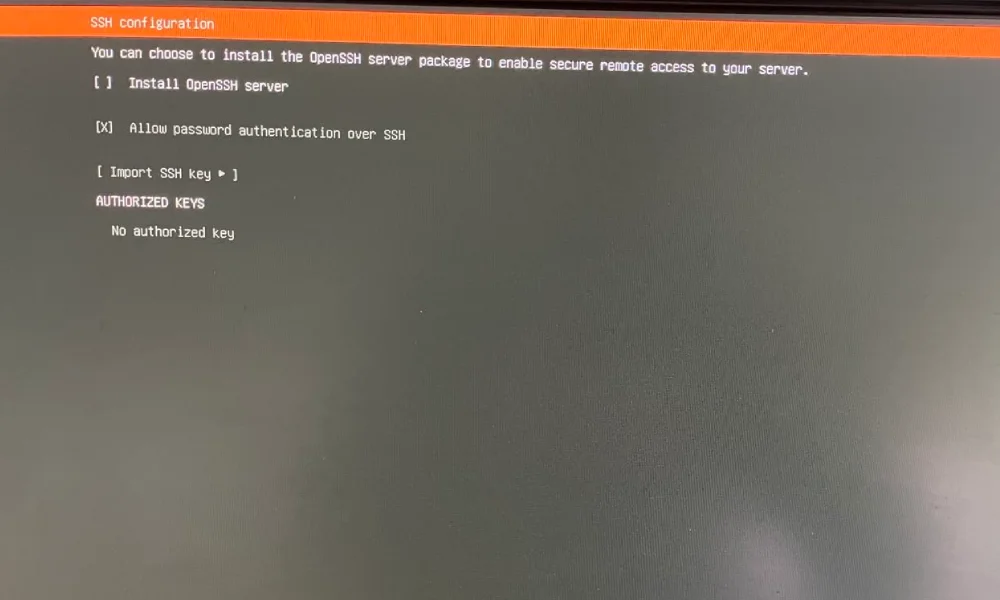
Step 15/17: You can check Install OpenSSH server option. Anyway, this may be installed later as well (see the guide).
-
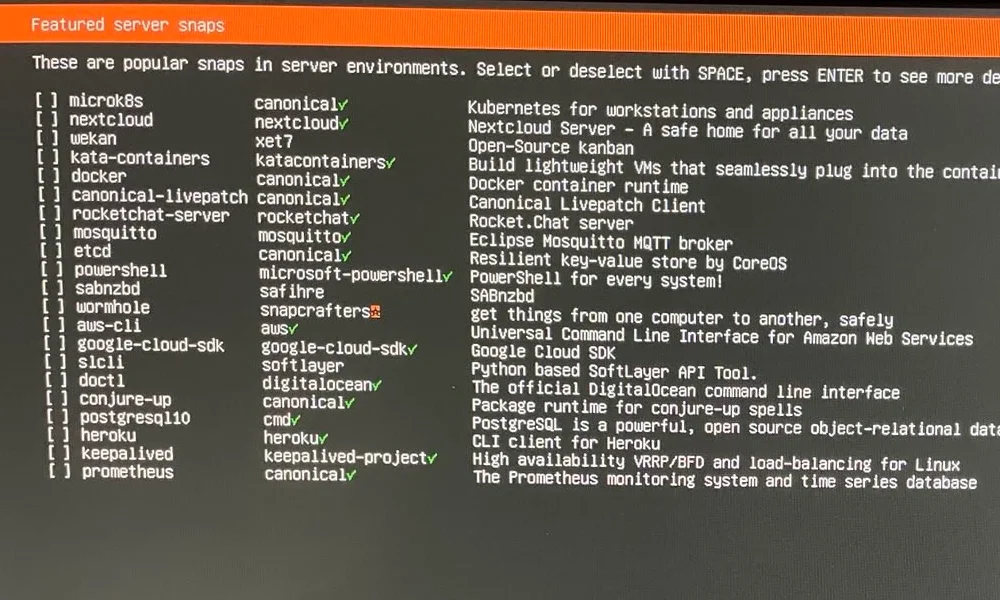
Step 16/17: Skip snaps by pressing "Done".
-
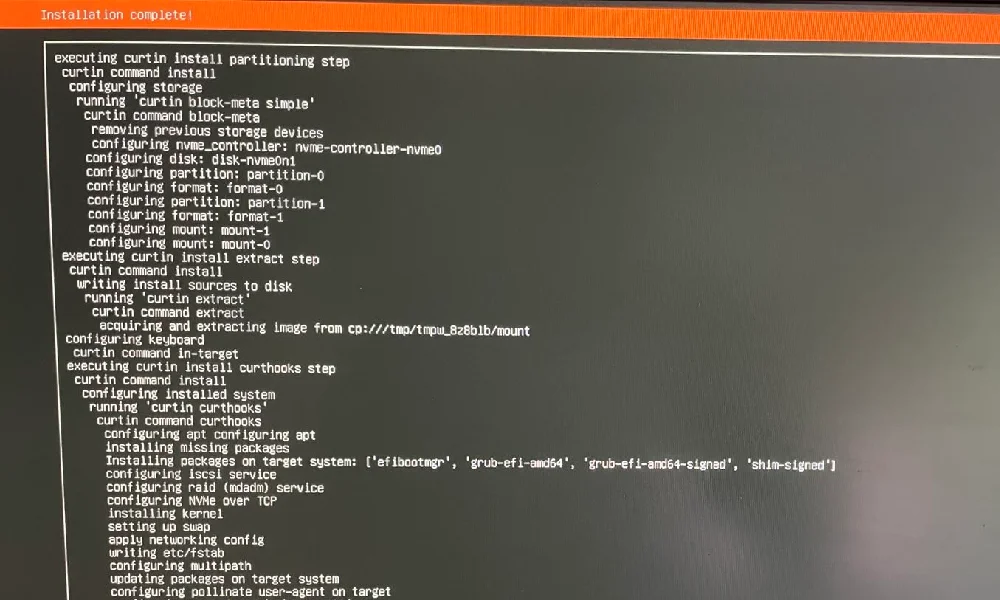
Step 17/17: Wait for Ubuntu server OS installation complete. Then select "Reboot Now".
-
- Unstick flash
-
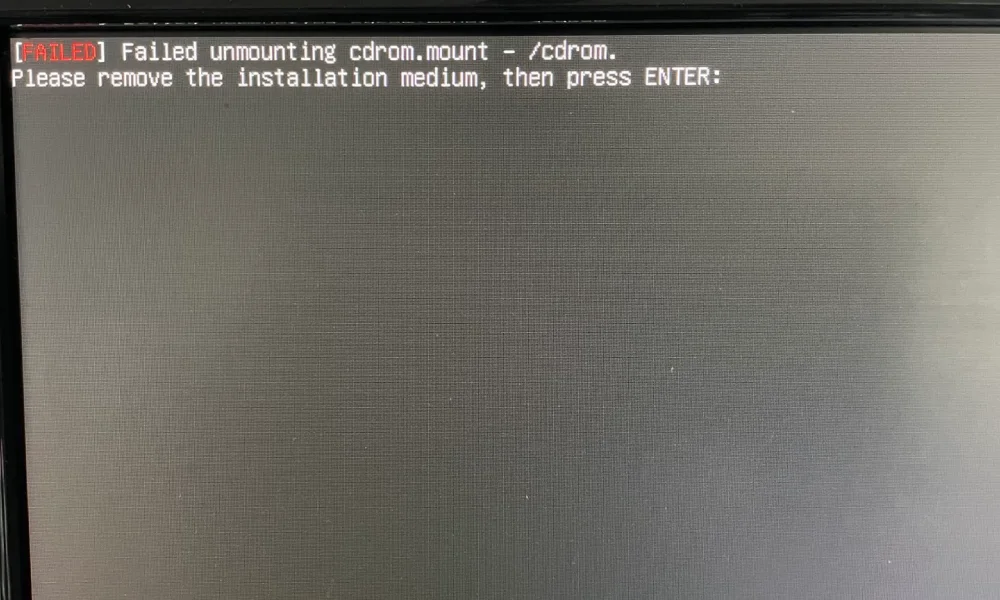
On request, remove flash.
-
-
Set proper BIOS settings
- While PC loads ater restart, press F2 to load BiOS settings
- Set Power delivery after failure and cooling mode
- Press F10 to save and exit
-
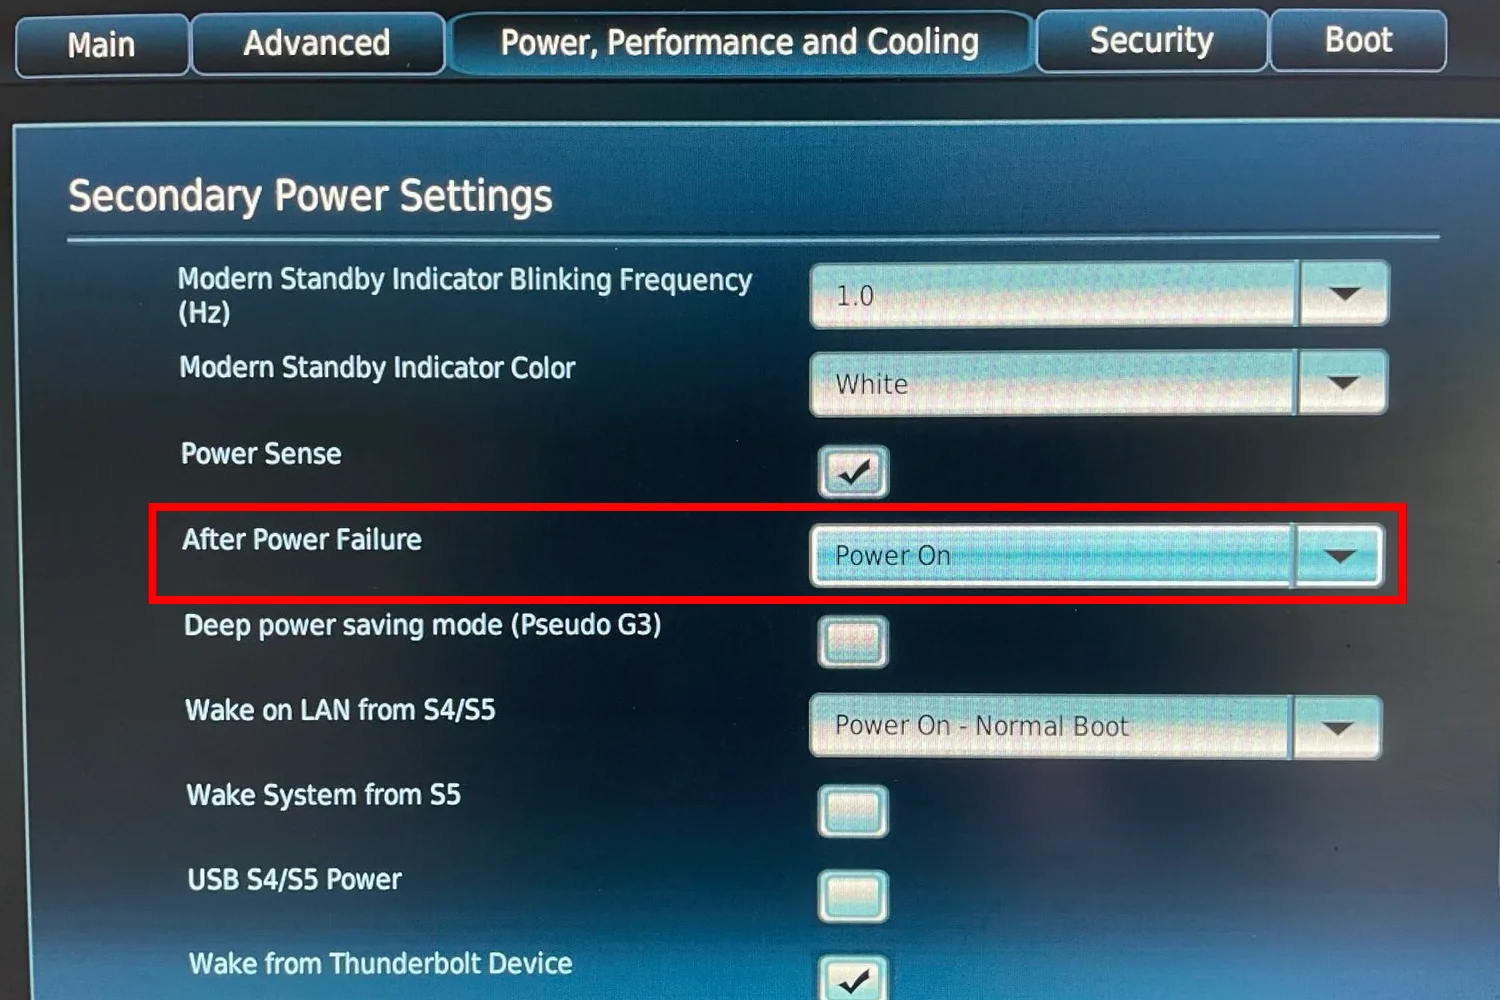
In "Power,Performance and Cooling", set "After Power Failure" to Power On. This ensure that the node will automatically start after an electricity power failure.
-
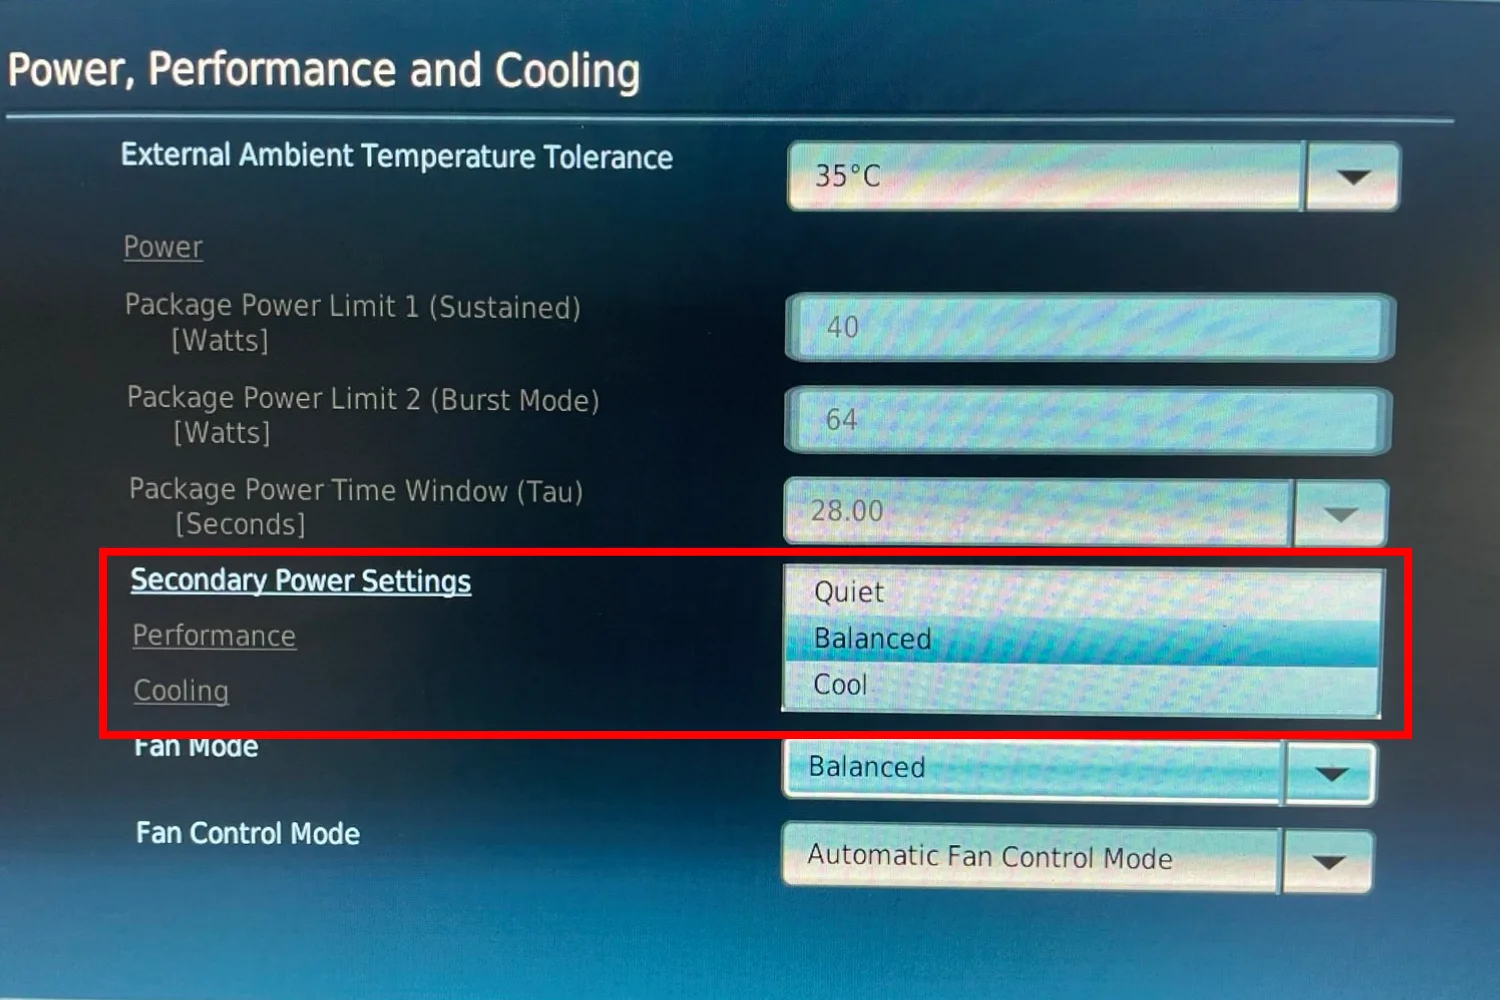
Through "Secondary Power Settings" of the same section, you can customize cooling mode.
First login
- After auto-restart, the login window appears.
- Enter your username and press Enter. Then enter the password.
After successful login, proceed to the next step.
Get Ubuntu Server on Cloud Node
- Select a cloud instance with
Ubuntu 24.04 LTS Serverpre-installed.
Check your server user
Cloud providers often log you in as root by default. For better security and management, create a dedicated user with sudo rights.
-
Create a new standard user and assign
sudorights:adduser myserveruser usermod -aG sudo myserveruser -
If you're logged in as
rootvia SSH key, copy your SSH keys to the new user:rsync --archive --chown=myserveruser:myserveruser ~/.ssh /home/myserveruser
Next step: Securing your server & Installing staking clients
Now that your hardware and operating system are ready, it’s time to secure your staking node and install staking clients necessary for participation in the network.
Guide to Secure OS & Install Staking Clients